It’s Spring and that’s a popular time to buy chicks. Feed stores have them in stock and may also have discounts on chick feed and kits and other necessities. If you are starting with some two day old chicks this season, it may be helpful for you to lay out a plan for the first six weeks.
Week One
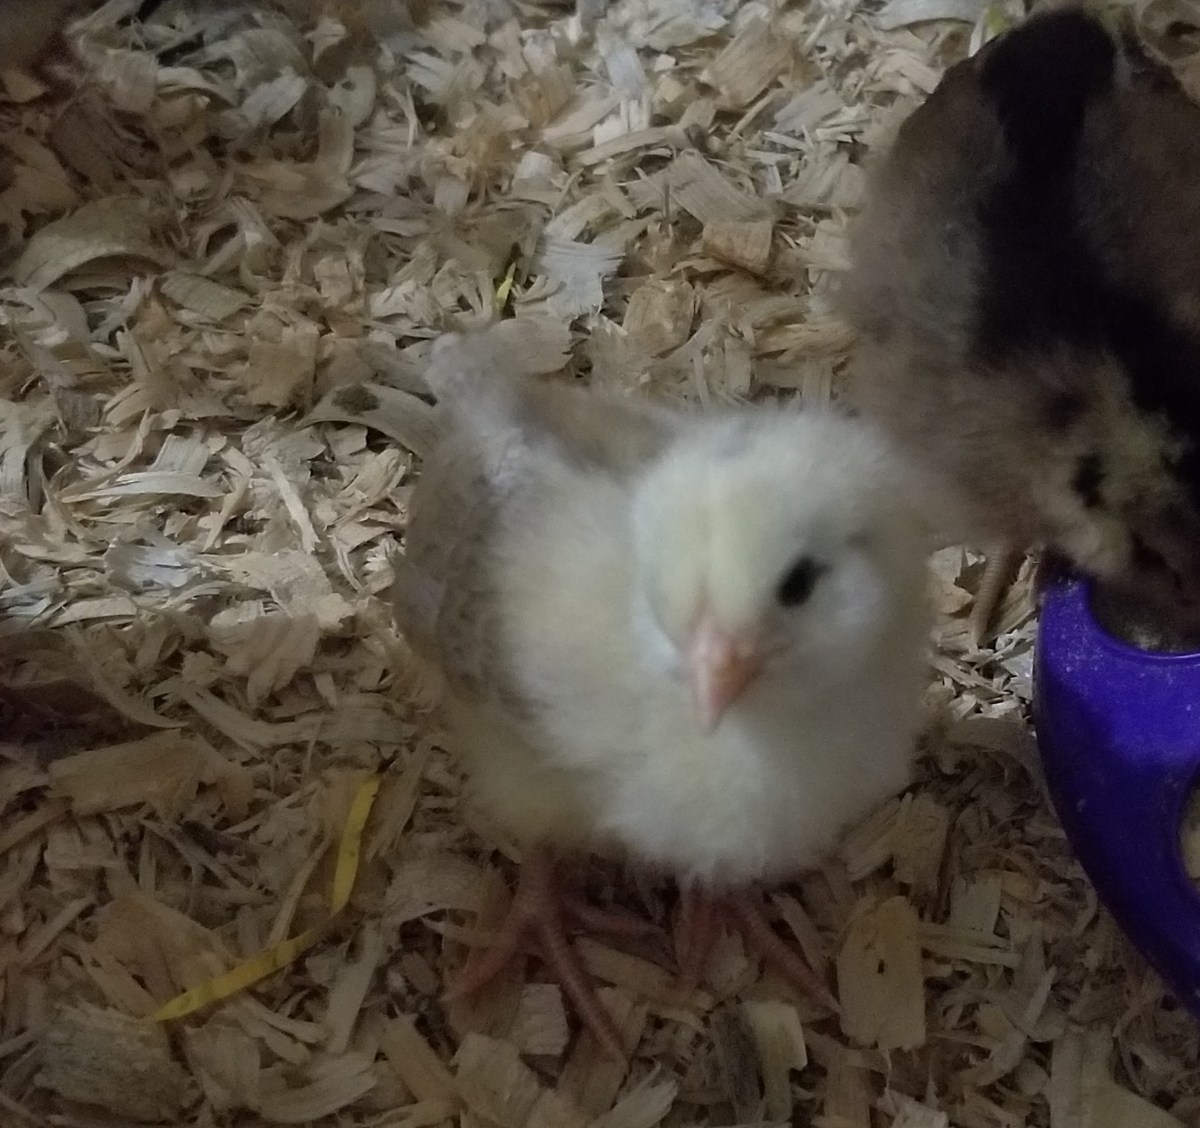
I highly recommend keeping the brooder in the house, away from drafts and near where people will be able to interact with the chicks. The more contact the chicks have with people from their first moments, the more they will bond with their owner. They need to realize that we want to care for them and talk to them and play with them. Keep the brooder and heater as clean as possible. Every day, pick up each chick and check her behind for poopy butt. This is a potential chick killer. Poo can be loosened with a damp tissue by dabbing, until you can wipe it off. Never pull on it, because you may damage your chick. Only use approved litter for chicks in the brooder, never newspaper.
As often as needed, clean the food and water dishes. Remember that in this first week chicks may drown if not given a chick-safe waterer. Find out if your chicks have been vaccinated. If so, give them unmedicated chick crumbles and nothing else to eat. If they have not been vaccinated, I recommend medicated crumbles. Chicks do not need grit if crumbles are their only food. Chicks will teach each other to eat and drink once you have pecked with your finger at the right spots to show them how. If you get your chicks direct from the hatchery, they will never have eaten or drunk before you get them. So, have their feeders ready before you bring them home, and have the brooder heater already on. I don’t recommend a heat lamp, a light bulb or a lizard rock or anything else people sometimes improvise. These things can all lead to chick death, and the lamps cause a lot of fires.
Spend as much time as possible just observing your chicks so they get accustomed to you. Play with your chicks several times a day. Let them climb on your hands and feet. Be careful, however, not to let them fall. Start calling them by their names, and talking to them. Happy chicks are quiet chicks, so a chick chirping has the same meaning as a baby crying. Something is wrong. Fix it as soon as you can. Your chick may be too hot or too cold or hasn’t found the food or water, or isn’t able to poop. My current hens were afraid of the dark as chicks, so I actually turned on a night light for them to calm them down. There are other potential health issues but those are not discussed here.
Week Two
Give them toys, like chick-sized perches for jumping. Bird toys that you make or get from a pet store may be fun. Mine really like pulling shredded paper out of toys, or the edible Easter grass that you can get this time of year. It is made with aspartame instead of sugar, so use your own judgment on whether you trust it. I have rarely seen a chick that likes mirrors, swings or xylophones. Continue the regimen from week one.
Week Three
Time for their first treats. My chicks love chia seeds. They are tiny and nutritious. Put the seeds in your hand and let the chicks come to you. Your shier chicks will eventually come to see what all the fuss is about. This is essential to make pets of your new flock. Other good treats are scrambled egg and broken down shelled sunflower seeds. Add a container of chick grit once you start feeding seeds.
Chicks are just like kids in that they each have their favorite and least favorite treats. However, they are more likely to keep trying a food until they develop a taste for it. You can try a finely chopped strawberry or other berry or cherry. It will be more welcome if it smells good to you. Make sure your chicks are not over eating the treats. They need the nutrition from their crumbles to grow into healthy hens.
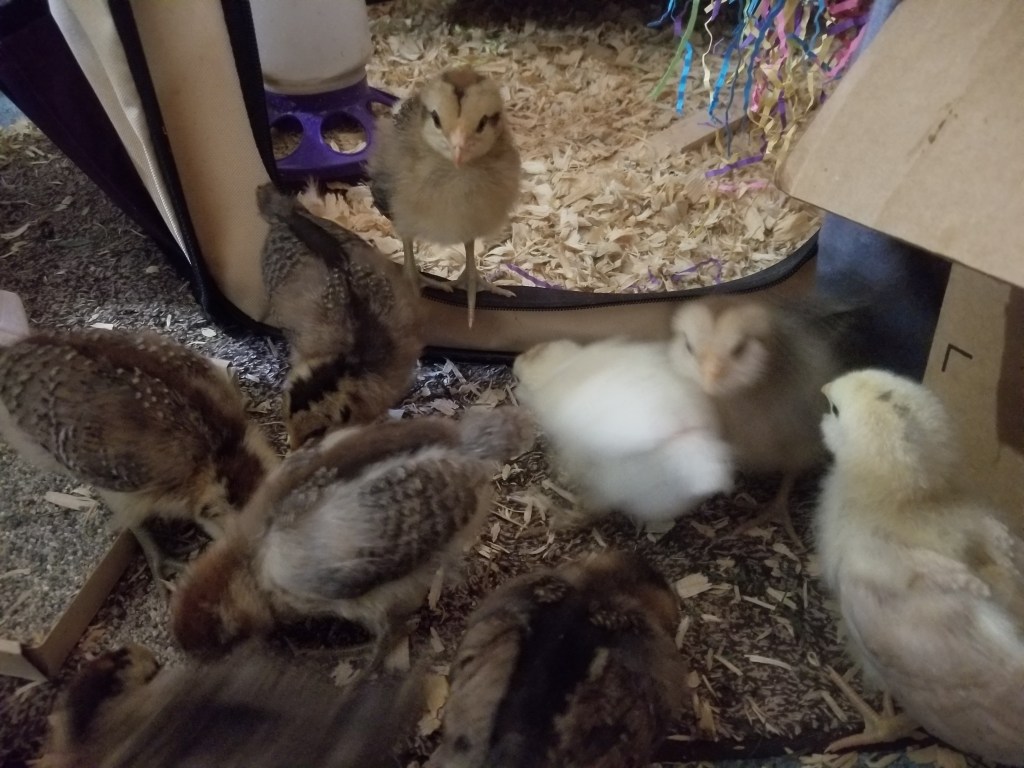
You may have to move your tiny flock into a bigger brooder at this point or soon after. They will have grown very quickly and need more space. I use a cloth dog pen with a mesh roof, in two sizes, so I can move them when they outgrow the smaller one. This is one of the safest ways to brood your chicks because they won’t get crushed in the corners.

Week Four
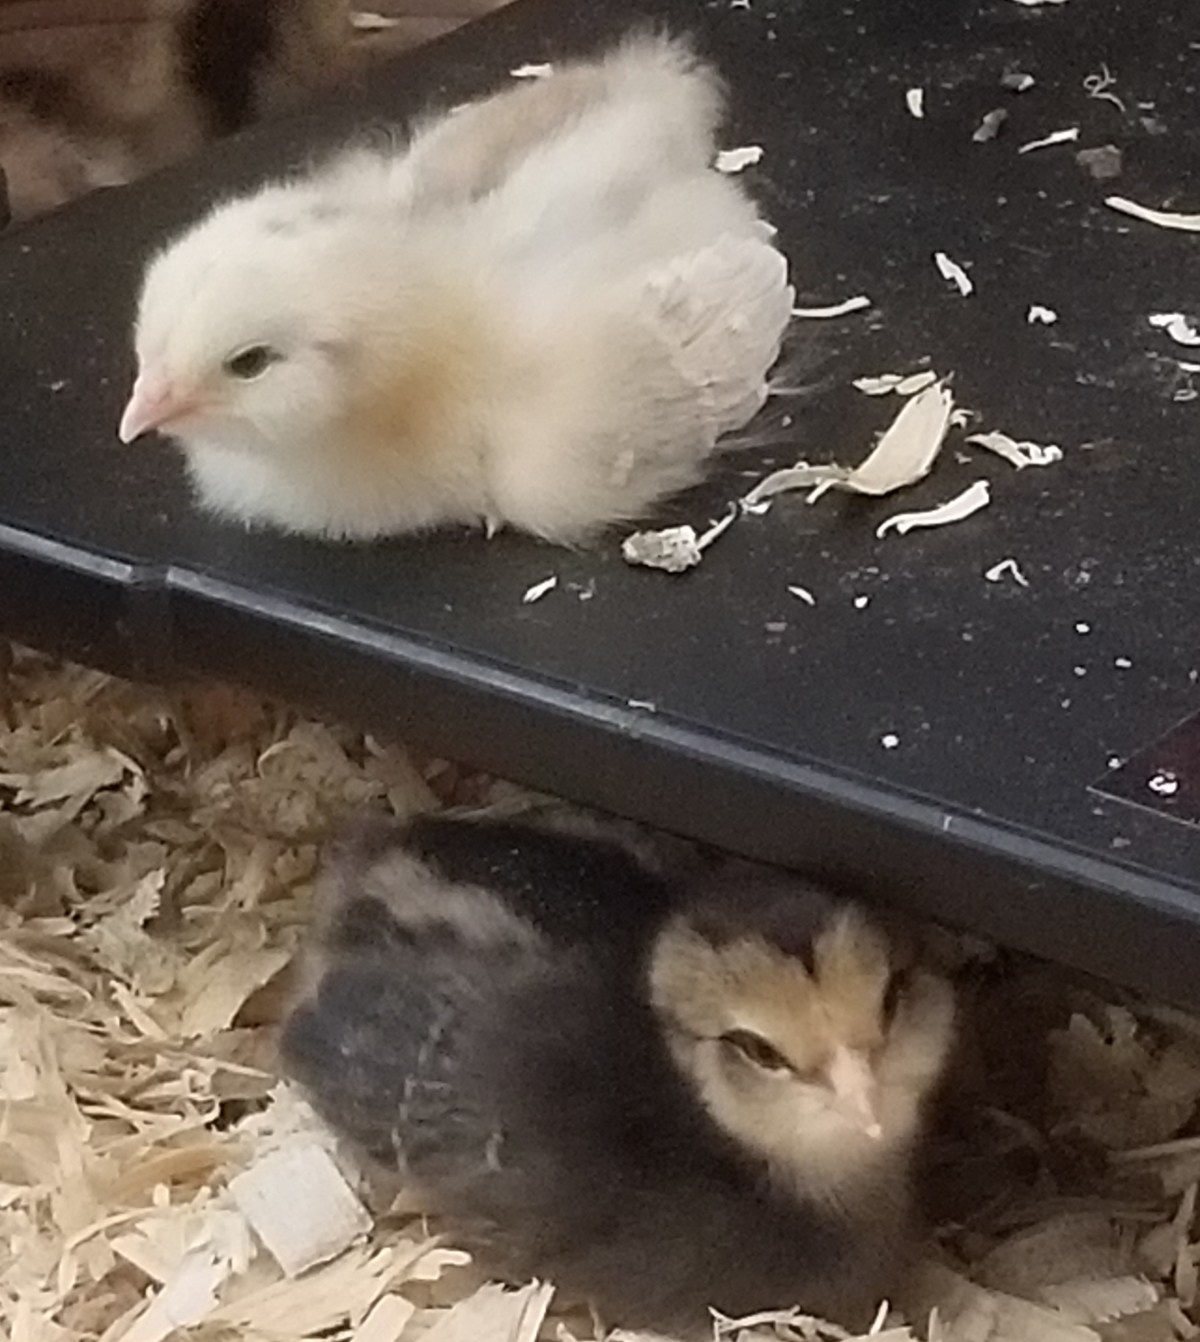
Introduce grass and other greenery from your yard. Make sure your chicks aren’t eating long strands of grass which could get stuck in their crops. Dandelions are great along with other edible weeds that are fresh and young so that they don’t taste too bitter. Depending on your weather, if the chicks are fully feathered at this point, they can go outside for an hour at a time. Always supervise them, as they are helpless. My chicks were only happy when they were all together, and terrified when not with one other chick, so you may experience the same thing. Don’t take just one chick outside, because she will be frightened. I had to pick up a chick in each hand when I moved them to clean their brooder, but I did it because it made them feel secure.
Week Five
Your chicks can try more types of treats, including pomegranate seeds, mealworms, fennel fronds, grapes, watermelon, plums, and squash. If your chicks are fully feathered, they can spend time out in their run during the day. It needs to have sunny spots and shady spots, and preferably a nice place for their first dirt bath. I used a low box of dirt that felt good to my bare hands and the girls loved it. They tried to all get in at the same time, which is fun to watch. They still like to make a big chicken puddle at bath time.
Week Six
Most breeds of chicks should be ready to be outside full time by six weeks. However, if your climate is snowy into the Spring, you may have to delay. When you run low on chick starter crumbles, sometime after week six, start to blend it with grower feed to let them adjust.
Do not introduce six week old chicks to an established flock. They will need to be housed separately for a few months. Keep spending time with them. Gardening with your little flock is fun and teaches them how to hunt for bugs and which plants they should eat. You will need to teach them a call or sound that means to come to you. Use treats to get them to follow you while you make your chosen noise. You may also teach them a word that means to get out of the way. I use this whenever carrying something large or heavy and don’t want to step on them. They should all know their names by now. Praise them by name when you want to enforce a behavior. Pick them up when they go where they aren’t supposed to be, and tell them how sad you are that they did that.
Watch them closely to see how they treat each other. If you have a bully, it is good to teach them early how to behave towards their friends. If you have a shy, submissive chick, make sure she gets her share of the food.
There may be a need to seek out more specific information if your chicks have any special health needs like splayed legs, or refusal to eat, but these instructions will be enough for almost all chicks, as long as you buy healthy chicks to start. The amount of time you spend with them will determine the quality of pet you end up with after your hard work. Your chicks should be happy to see you and sad to see you leave. If they free range, they will run to you when you are in sight. You should be able to call for any individual chick, and although she may choose to ignore you (especially in the middle of a bath), she will know you are looking for her. Raising a pet is more than just taking proper care with food and water and warmth. It’s about the quality and quantity of the time you spend together, and presents, lots of presents.